Tailscale on PFSense

For a bit more than a year, I’m a user of Tailscale which is a service that builds an overlay network on top of Wireguard while relying on OAuth with third party services for authentication

It’s incredibly easy to get going with Tailscale and the free tier they provide is more than good enough for the common personal use cases (in my case: tech support for my family).

Most of the things that are incredibly hard to set up with traditional VPN services just work out of the box or require a minimal amount of configuration. Heck, even more complicated things like tunnel splitting and DNS resolution in different private subnets just work. It’s magic.

While I have some gripes that prevent me from switching all our company VPN connectivity over to them, those are a topic for a future blog post.

The reason I’m writing here right now is that a few weeks ago, Netgate and Tailscale announced a Tailscale package for PFSense. As a user of both PFSense and Tailscale, this allowed me to get rid of a VM that does nothing but be a Tailscale exit node and subnet router and instead use the Tailscale package to do this on PFSense.

However, doing this for a week or so has revealed some very important things to keep in mind which I’m posting about here because other people (and that includes my future self) will run into these issues and some are quite devastating:

When using the Tailscale package on PFSense, you will encounter two issues directly caused by Tailscale, but both of which also seen in other reports when you search for the issue on the internet, so you might be led astray when debugging it.

Connection loss

The first one is the bad one: After some hours of usage, an interface on your PFSense box will become unreachable, dropping all traffic through it. A reboot will fix it and when you then look at the system log, you will find many lines like

arpresolve: can't allocate llinfo for <IP-Address> on <interface>
I’m in so much pain right now

This will happen if one of your configured gateways in “System > Routing” is reachable both by a local connection and through Tailscale by subnet router (even if your PFSense host itself is told to advertise that route).

I might have overdone the fixing, but here’s all the steps I have taken

  • Tell Tailscale on PFSense to never use any advertised routes (“VPN > Tailscale > Settings”, uncheck “Accept subnet routes that other nodes advertise.”
  • Disable gateway monitoring under “System > Routing > Gateways” by clicking the pencil next to the gateway in question.

I think what happens is that PFSense will accidentally believe that the subnet advertised via Tailscale is not local and will then refuse to add the address of that gateway to its local ARP table.

IMHO, this is a bug in Tailscale. It should never mess with interfaces its exposing as a subnet router to the overlay network.

Log Spam

The second issue is not as bad but as the effect is so far removed from the cause, it’s still worth talking about it.

When looking at the system log (which you will do for above issue), you will see a ton of entries like

sshguard: Exiting on signal
sshguard: Now monitoring attacks.
this can’t be good. Can it?

What happens is that PFSense moved a few releases ago from a binary ring-buffer for logging to a more naïve approach to check once a minute whether a log file is too big, then rotating it and restarting daemons logging to that file.

If a daemon doesn’t have a built-in means for re-opening log files, PFSense will kill and restart the daemon, which happens to be the case for sshguard.

So the question is: Why is the log file being rotated every minute? This is caused by the Tailscale overlay network and the firewall by default blocking Tailscale traffic (UDP port 41641) to the WAN interface and also by default logging every dropped packet.

In order to fix this and assuming you trust Tailscale and their security update policies (which you probably should given that you just installed their package on a gateway), you need to create a rule to allow UDP port 41641 on the WAN interface.

much better now

This, too, IMHO is a bug in the Tailscale package: If your package opens port 41614 on an interface on a machine whose main purpose is being a firewall, you should probably also make sure that traffic to that port is not blocked.

With these two configuration changes in place, the network is stable and the log spam has gone away.

What’s particularly annoying about these two issues is that Googling for either of the two error messages will yield pages and pages of results, none of which apply because they will have many more possible causes and because Tailscale is a very recent addition to PFSense.

This is why I decided to post this article in order to provide one more result in Google and this time combining the two keywords: Tailscale and PFSense, in the hope of helping fellow admins who run into the same issues after installing Tailscale on their routers.

Fiber7 TV behind PFSense

As I’ve stated previously, I’m subscribed to what is probably the coolest ISP on earth. Between the full symmetric Gbit/s, their stance on network neutrality, their IPv6 support and their awesome support even for advanced things like setting up an IPv6 reverse DNS delegation(!), there’s nothing you could ever wish for from an ISP.

For some time now, they have also provided an IPTV solution as an additional subscription called tv7.

As somebody who last watched live tv around 20 years ago, I wasn’t really interested to subscribe to that. However, contrary to many other IPTV solutions what’s special about the Fiber7 solution is that they are using IP multicast to deliver the unaltered DVB frames to their users.

For people interested in TV, this is great because it’s, for all intents and purposes, lag free as the data is broadcast directly through their network where interested clients can just pick it up (of course there will be some <1ms lag for the data to move through their network plus some additional <1ms lag as your router forwards the packets to your internal network).

As I never dealt with IP multicast, this was an interesting experiment for me, and when they released their initial offering, they provided a test-stream to see whether your infrastructure was multicast ready or not.

Back then, I never got it to work behind my PFSense setup but as I wasn’t interested in TV, I never bothered spending time on this, though it did hurt my pride.

Fast forward to about three weeks ago where I made a comment on twitter about that pride being hurt to the CEO of fiber7. He informed me that the test stream was down, but then he also sent me a DM to ask me whether I was interested in trying out their tv7 offering, including the beta version of their app for the AppleTV.

That was one evil way to nerd-snipe me, so naturally, I told him that, yes, I would be interested, but that I wasn’t really ever going to use it aside of just getting it to work, because live TV just doesn’t interest me.

Despite the fact that it was past 10pm, he sent me another DM, telling me that he has enabled tv7 for my account.

The rest of the night I spent experimenting with IGMP Proxy and the PFSense firewall to some varying success, but on the next day I was finally successful

You might notice that this is a screenshot of VLC. That’s no coincidence: While Fiber7 officially only supports the AppleTV app, they also offer links on a support page of theirs to m3u and xspf playlists that can be used by advanced users (which is another case of Fiber7 being awesome), so while debugging to make this work, I definitely preferred to using VLC which had a proper debug log.

After I got it to work, I also found a bug in the Beta version of the Fiber7 app where it would never unsubscribe from a multicast group, causing the traffic to my LAN to increase whenever I would switch channels in the app. The traffic wouldn’t decrease even if the AppleTV went to sleep – only a reboot would help.

I’ve reported this to Fiber7 and within a day or two, a new release was pushed to TestFlight in order to fix the issue.

Since this little adventure happened, Fiber7 has changed their offering: Now every Fiber7 account gets free access to tv7 which will probably broaden the possible audience quite a bit.

Which brings me to the second point of this post: To show you the configuration needed if you’re using a PFSense based gateway and you want to make use of tv7.

First, you have to enable the IGMP proxy:

Screen Shot 2018-05-22 at 16.31.15.png

For the LAN interface, please type in the network address and netmask of your internal IPv4 LAN.

What IGMP Proxy does is to listen to clients in your LAN joining to a multicast group and then joining on their behalf on the upstream interface. It will then forward all traffic received on the upstream aimed at the group to the group on the downstream interface. This is where the additional small bit of lag is added, but this is the only way to have multicast cross routing barriers.

This is also mostly done on your routers CPU, but at the 20MBit/s a stream consumes, this shouldn’t be a problem on more or less current hardware.

Anyways – if you want to actually watch TV, you’re not done yet because even though this service is now running, the built-in firewall will drop any packets related to multicast joining and all actual multicast packets containing the video frames.

So the next step is to update the firewall:

Create the following rules for your WAN interface:

Screen Shot 2018-05-22 at 16.39.07.png

You will notice that little gear icon next to the rule. What that means is that additional options are enabled. The extra option you need to enable is this one here:

Screen Shot 2018-05-22 at 16.41.31.png

I don’t really like the second of the two rules. In principle, you only need to allow a single IP: The one of your upstream gateway. But that might change whenever your IPv4 address changes and I don’t think you will want to manually update your firewall rule every time.

Instead, I’m allowing all IGMP traffic from the WAN net, trusting Fiber7 to not leak other subscriber’s IGMP traffic to my network.

Unfortunately, you’re still not quite done.

While this configures the rules for the WAN interface, the default “pass all” rule on the LAN interface will still drop all video packets because the above “Allow IP options” checkbox is off by default for the default pass all rule.

You have to update that too on the “LAN” interface:

Screen Shot 2018-05-22 at 16.46.47.png

And that’s all.

The network I’m listing there, 77.109.128.0/19 is not documented officially. Fiber7 might change that at any time at which point your nice setup will stop working and you’ll have to update the IGMP Proxy and Firewall configuration.

In my case, I’ve determined the network address by running

/usr/local/sbin/igmpproxy -d -vvvv /var/etc/igmpproxy.conf

and checking out the error message where igmpproxy was not allowing traffic to an unknown network. I’ve then looked up the network of the address using whois and updated my config accordingly.

another fun project: digipass

As a customer of digitec, I often deal with their collection notices which I get via email and which invite me to go to their store and fetch my order (yes. I could have the goods delivered, but I’m impatient and not willing to pay the credit card surcharge).

Ever since Passbook happened on iOS 6, I wished for these collection notices to be iOS Passes as they have a lot of usability benefits:

  • passes are location aware an pop up automatically when you get close to the location
  • Wallet automatically turns the screen brightness all the way up
  • passes could potentially be updated remotely
  • once added to the Wallet, passes don’t clutter your mailbox and you’ll never lose them in the noise of your inbox.

So my latest fun project is digipass.

Next time you get a digitec collection notice, just forward it to

digipass@pilif.me

After a few seconds, you will get the same collection notice again, but with the PDF replaced by an iOS Wallet pass that you can add to your Wallet.

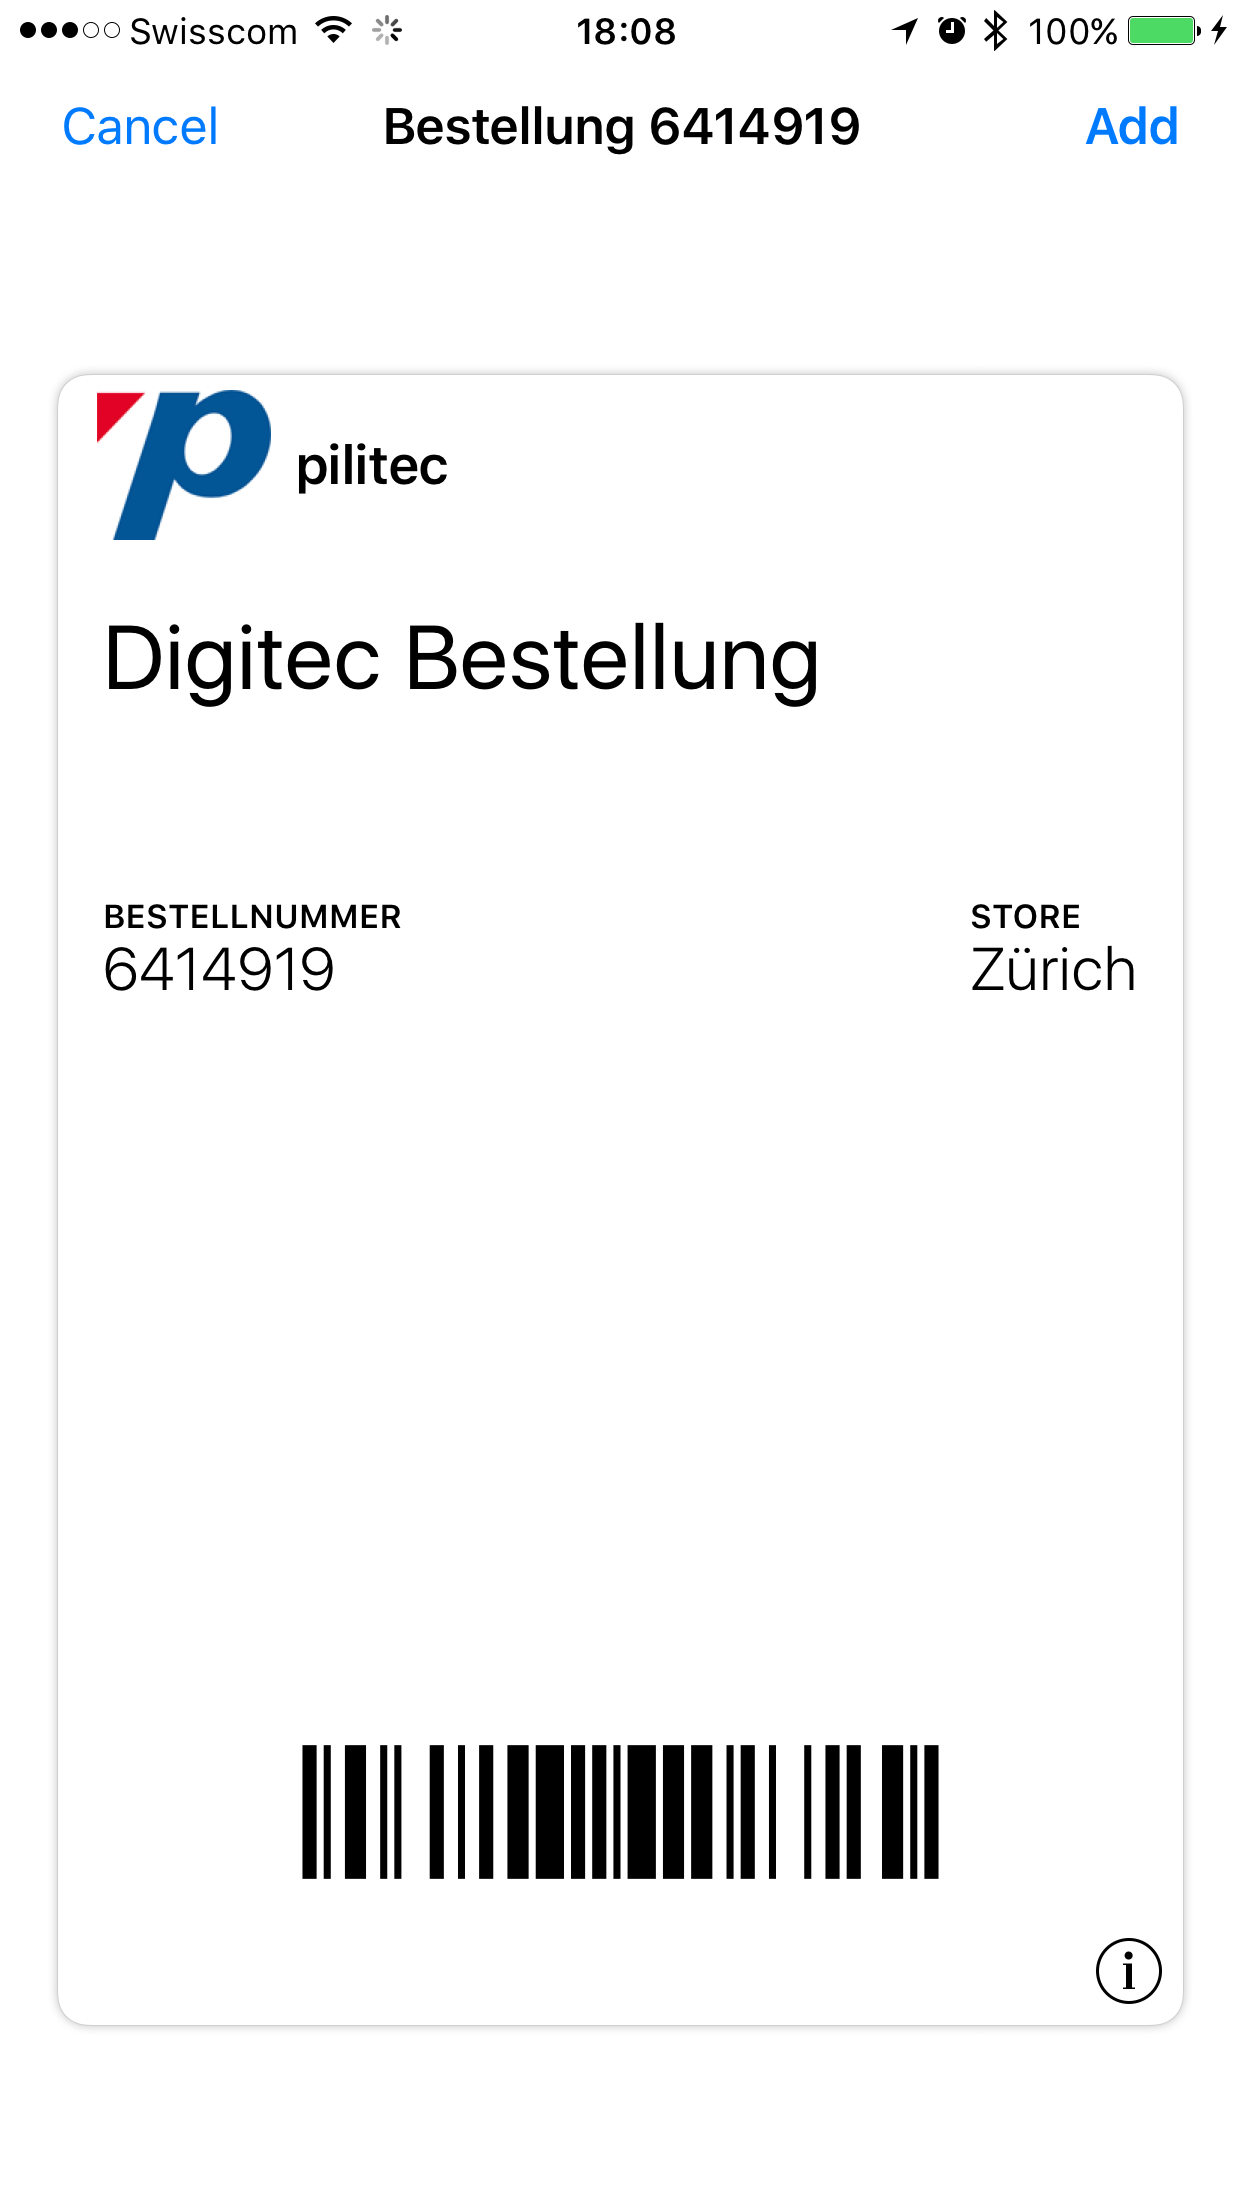
I have slightly altered the logo and the name to make it clear that there’s no affiliation to digitec.

The pass will be geo-coded to the correct store, so it will automatically pop up as you get close to the store.

As I don’t want access to your digitec account and because digitec doesn’t have any kind of API, I unfortunately can’t automatically remove the pass when your fetch your order – that’s something only digitec can do.

The source code for the server is available under the MIT license.

Disclaimer:

  • I’m not affiliated with digitec aside of being a customer of theirs. If they want me to shut this down, I will.
  • I am not logging the collection notices you’re forwarding me. If you don’t trust me, you can self-host, or redact the notice to contain nothing but the URLs (I need these in order to build the pass).
  • This is a fun project. If it’s down, it’s down. If it doesn’t work, submit a pull request. Don’t expect any support
  • The LMTP daemon powering this is running in my home. I have a very good connection, but I also have not signed an SLA or anything. If it’s down, it’s down (the message will get queued though).
  • The moment I see this being abused, it will be shut down. Just like my previous email based fun project

SNI progressive enhancment

Today marks another big milestone in the availabilibty of ubuquitous SSL encryption: The «Let’s Encrypt» project got their cross-signature, so come a few more weeks, they will be ready for the public to use.

However, with an unlimited amount of available free SSL certificates, we get another problem: Because back in the day nobody thought about name based virtual hosting, the initial implementation of SSL didn’t support the client telling the server what host it’s trying to connect to. This means that the server didn’t know what certificate to present when multiple host names were to be used for the same address.

This meant that for every site you wanted to offer over SSL, you needed an IP address, which are harder to get as time moves on and we’re running out of them.

«SNI» is a protocol extension that allows the client to tell the server the host-name it’s connecting to, so the server can chose the correct certificate to serve. This fixes above issue and finally allows virtual hosting based on the host name even over SSL.

Unfortunately, SNI isn’t as widely supported as we’d like: Older Android devices and all IEs under Windows XP (which still is a sizable portion of our users) don’t support SNI.

What’s also tricky is that you don’t know a client doesn’t support SNI until it’s too late: They connect to your port 443, don’t send a host name and now the server needs to a) answer and b) send a server certificate. So unless the client accidentally hit the correct host name, the client will get a certificate mismatch and it will thus display the usual SSL error message.

This is of course not very good UX as you don’t even get to tell the user what’s wrong before they see the browser-specific error message.

However, I still want to support SSL for all my sites wherever I can. If I could have non-SNI-supporting clients on an unencrypted site and then adding encryption only if they support SNI, then encryption would become a progressive enhancement. The sites I’m dealing with aren’t that far in the «needs encryption» territory, so offering encryption only for good (read: non-outdated) browsers is a viable option, especially as I want to offer this for free for the sites I’m hosting and I only have so many IP addresses at my disposal right now.

Generally, the advice to do that is to do user agent sniffing but that’s error-prone. I’d much rather feature detect.

So after a bit of thinking, I came up with this (it requires JS though):

  • Over port 80, serve the normal site unencrypted instead of just redirecting to https.
  • On that regular site do a jsonp request for some beacon file on your site over https.
  • If that beacon loads properly, then your client is obviously SNI compliant, so redirect to the https version of your site using JS.
  • If the beacon doesn’t load, then the browser probably doesn’t support SNI, so keep them on the unencrypted page. If you want to, you can set a cookie to prevent further probing on subsequent requests.
  • On port 443, serve a HSTS header, so next time the browser visits, they’ll use HTTPS from the start.

IE8 will still show the page correctly but also show a warning that it has blocked content for your own security, so you might want to immediately redirect again (with the cookie set) in order to get rid of the warning.

Contrary to the normal immediate redirect to HTTPS, this means that the first page-view even of compliant browsers will be unencrypted, so absolutely make sure that you serve all your cookies with the secure flag. This also means that in order to get to the encrypted version of the page, you need JavaScript enabled – at least for the first time.

Maybe you can come up with some crazy hack using frames, but this method seems to be the cleanest.

IPv6 in production

Yesterday, I talked about why we need IPv6 and to make that actually happend, I decided to do my part and make sure that all of our infrastructure is available over IPv6.

Here’s a story of how that went:

First was to request an IPv6 allocation by our hosting provider: Thankfully our contract with them included a /64, but it was never enabled and when I asked for it, they initially tried to bill us CHF 12/mt extra, but after pointing them to the contract, they started to make IPv6 happen.

That this still took them multiple days to do was a pointer to me that they were not ready at all and by asking, I was forcing them into readyness. I think I have done a good deed there.

dns

Before doing anything else, I made sure that our DNS servers are accessible over IPv6 and that IPv6 glue records existed for them.

We’re using PowerDNS, so actually supporting IPv6 connectivity was trivial, though there was a bit of tweaking needed to tell it about what interface to use for outgoing zone transfers.

Creating the glue records for the DNS servers was trivial too – nic.ch has a nice UI to handle the glue records. I’ve already had IPv4 glue records, so all I had to do was to add the V6 addresses.

web properties

Making our web properties available over IPv6 was trivial. All I had to do was to assign an IPv6 address to our frontend load balancer.

I did not change any of the backend network though. That’s still running IPv4 and it will probably for a long time to come as I have already carefully allocated addresses, configured DHCP and I even know IP addresses by heart. No need to change this.

I had to update the web application itself a tiny bit in order to copy with a REMOTE_ADDR that didn’t quite look the same any more though:

  • there were places where we are putting the remote address into the database. Thankfully, we are using PostgreSQL whose native inet type (it even supports handy type specific operators) supports IPv6 since practically forever. If you’re using another database and you’re sotoring the address in a VARCHAR, be prepared to lengthen the columns as IPv6 addreses are much longer.
  • There were some places where we were using CIDR matching for some privileged API calls we are allowing from the internal network. Of course, because I haven’t changed the internal network, no code change was strictly needed, but I have updated the code (and unit tests) to deal with IPv6 too.

The last step was to add the AAAA record for our load balancer.

From that moment on, our web properties were available via IPv6 and while there’s not a lot of traffic from Switzerland, over in Germany, about 30% of all requests are happening over IPv6.

email

Of the bunch, dealing with email was the most complicated step. Not so much for enabling IPv6 support in the MTA as that was supported since forever (we’re using Exim (warning: very old post)).

The difficulty lied in getting everything else to work smoothly though – mostly in regards to SPAM filtering:

  • Many RBLs don’t support IPv6, so I had to make sure we weren’t accidentally treating all mail delivered to us over IPv6 as spam.
  • If you want to have any chance at your mail being accepted by remote parties, then you must have a valid PTR record for your mail server. This meant getting reverse DNS to work right for IPv6.
  • Of course you also need to update the SPF record now that you are sending email over IPv6.

PTR record

The PTR record was actually the crux of the matter.

In IPv4, it’s inpractical or even impossible to get a reverse delegation for anything smaller than a /24, because of the way how reverse lookup works in DNS. There was RFC 2317 but that was just too much hassle for most ISPs to implement.

So the process normally was to let the ISP handle the few PTR records you wanted.

This changes with IPv6 in two ways: As the allocation is mostly fixed to a /64 or larger and because there are so many IPv6 addreses to allow splitting networks at byte boundaries without being stingy, it is trivially easy to do proper reverse delegation to customers.

And because there are so many addresses available for a customer (a /64 allocation is enough addresses to cover 2^32 whole internets), reverse delegation is the only way to make good use of all these addresses.

This is where I hit my next roadblock with the ISP though.

They were not at all set up for proper reverse delegation – the support ticket I have opened in November of 2014 took over 6 months to finally get closed in May of this year.

As an aside: This was a professional colocation provider for business customers that was, in 2014, not prepared to even just hand out IPv6 addresses and who required 6 months to get reverse delegation to work.

My awesome ISP was handing out IPv6 addresses since the late 90ies and they offer reverse delgation for free to anybody who asks. As a matter of fact, it was them to ask me whether I wanted a reverse delegation last year when I signed up with them.

Of course I said yes :-)

This brought me to the paradoxical situation of having a fully working IPv6 setup at home while I had to wait for 6 months for my commercial business ISP to get there.

it’s done now

So after spending about 2 days learning about IPv6, after spending about 2 days updating our application, after spending one day convincing our ISP to give us the IPv6 allocation they promised in the contract and after waiting 6 months for the reverse delegation, I can finally say that all our services are now accessible via IPv6.

Here are the headers of the very first Email we’ve transmitted via IPv6

And here’s the achievement badge I waited so patiently (because of the PTR delegation) to finally earn 🎉

IPv6 Certification Badge for pilif

I can’t wait for the accompanying T-Shirt to arrive 😃

Why we need IPv6

As we are running out of IPv4 network addresses (and yes, we are), there’s only two possible future scenarios and one of the two, most people are not going to like at all.

As IP addresses get more and more scarce, things will start to suck for both clients and content providers.

As more and more clients connect, carrier grade NAT will become the norm. NAT already sucks, but at least you get to control it and using NAT-PMP or UPnP, applications in your network get some control over being able to accept incoming connections.

Carrier Grade NAT is different. That’s NAT being done on the ISPs end, so you don’t get to open ports at all. This will affect gaming performance, it will affect your ability to use VoIP clients and of course file sharing clients.

For content providers on the other hand, it will become more and more difficult to get the public IP addresses needed for them to be able to actually provide content.

Back in the day, if you wanted to launch a service, you would just do it. No need to ask anybody for permission. But in the future, as addresses become scarce and controlled by big ISPs which are also acting as content provider, the ISPs become the gatekeepers for new services.

Either you do something they like you to be doing, or you don’t get an address: As there will be way more content providers fighing over addresses than there will be addresses available, it’s easy for them to be picky.

Old companies who still have addresses of course are not affected, but competing against them will become hard or even impossible.

More power to the ISPs and no competition for existing content providing services both are very good things for players already in the game, so that’s certainly a possible future they are looking forward to.

If we want to prevent this possible future from becoming reality, we need a way out. IPv4 is draining up. IPv6 exists for a long time, but people are reluctant to upgrade their infrastructure.

It’s a vicious cycle: People don’t upgrade their infrastructure to IPv6 because nobody is using IPv6 and nobody is using IPv6 because there’s nothing to be gained from using IPv6.

If we want to keep the internet as an open medium, we need to break the cycle. Everybody needs to work together to provide services over IPv6, to the point of even offering services over IPv6 exclusively.

Only then can we start to build pressure for ISPs to support IPv6 on their end.

If you are a content provider, ask your ISP for IPv6 support and start offering your content over IPv6. If you are an end user, pressure your ISP to offer IPv6 connectivity.

Knowing this, even one year ago, after getting motivated by my awesome ISP who offered IPv6 connectivity ever since, I started to get our commercial infrastructure up to speed.

Read on to learn how that went.

Thoughts on IPv6

A few months ago, the awesome provider Init7 has released their
awesome FTTH offering Fiber7 which provides
synchronous 1GBit/s access for a very fair price. Actually, they are by
far the cheapest provider for this kind of bandwith.

Only cablecom comes close at matching them bandwidth wise with their 250Mbits
package, but that’s 4 times less bandwith for nearly double the price. Init7
also is one of the only providers who officially states that
their triple-play strategy is that they don’t do it. Huge-ass kudos for
that.

Also, their technical support is using Claws Mail on GNU/Linux – to give you
some indication of the geek-heaven you get when signing up with them.

But what’s really exciting about Init7 is their support for IPv6. In-fact,
Init7 was one of the first (if not the first) providers to offer IPv6 for
end users. Also, we’re talking about a real, non-tunneled, no strings attached
plain /48.

In case that doesn’t ring a bell, a /48 will allow for 216 networks
consisting of 264 hosts each. Yes. That’s that many hosts.

In eager anticipation of getting this at home natively (of course I ordered
Fiber7 the moment I could at my place), I decided to play with IPv6 as far as
I could with my current provider, which apparently lives in the stone-age and
still doesn’t provide native v6 support.

After getting abysmal pings using 6to4 about a year ago, this time I decided
to go with tunnelbroker which these days also
provides a nice dyndns-alike API for updating the public tunnel endpoint.

Let me tell you: Setting this up is trivial.

Tunnelbroker provides you with all the information you need for your tunnel
and with the prefix of the /64 you get from them and setting up for your own
network is trivial using radvd.

The only thing that’s different from your old v4 config: All your hosts will
immediately be accessible from the public internet, so you might want to
configure a firewall from the get-go – but see later for some thoughts in that
matter.

But this isn’t any different from the NAT solutions we have currently. Instead
of configuring port forwarding, you just open ports on your router, but the
process is more or less the same.

If you need direct connectivity however, you can now have it. No strings attached.

So far, I’ve used devices running iOS 7 and 8, Mac OS X 10.9 and 10.10,
Windows XP, 7 and 8 and none of them had any trouble reaching the v6 internet.
Also, I would argue that configuring radvd is easier than configuring DHCP.
There’s less thought involved for assigning addresses because
autoconfiguration will just deal with that.

For me, I had to adjust how I’m thinking about my network for a bit and I’m
posting here in order to explain what change you’ll get with v6 and how some
paradigms change. Once you’ve accepted these changes, using v6 is trivial and
totally something you can get used to.

  • Multi-homing (multiple adresses per interface) was something you’ve rarely
    done in v4. Now in v6, you do that all the time. Your OSes go as far as to
    grab a new random one every few connections in order to provide a means of
    privacy.
  • The addresses are so long and hex-y – you probably will never remember them.
    But that’s ok. In general, there are much fewer cases where you worry about
    the address.

    • Because of multi-homing every machine has a guaranteed static address
      (built from the MAC address of the interface) by default, so there’s no
      need to statically assign addresses in many cases.
    • If you want to assign static addresses, just pick any in your /64.
      Unless you manually hand out the same address to two machines,
      autoconfiguration will make sure no two machines pick the same address.
      In order to remember them, feel free to use cute names – finally you got
      some letters and leetspeak to play with.
    • To assign a static address, just do it on the host in question. Again,
      autoconfig will make sure no other machine gets the same address.
  • And with Zeroconf (avahi / bonjour), you have fewer and fewer oportunities
    to deal with anything that’s not a host-name anyways.
  • You will need a firewall because suddenly all your machines will be
    accessible for the whole internet. You might get away with just the local
    personal firewall, but you probably should have one on your gateway.
  • While that sounds like higher complexity, I would argue that the complexity
    is lower because if you were a responsible sysadmin, you were dealing with
    both NAT and a firewall whereas with v6, a firewall is all you need.
  • Tools like nat-pmp or upnp don’t support v6 yet as far as I can see, so
    applications in the trusted network can’t yet punch holes in the firewall
    (what is the equivalent thing to forwarding ports in the v4 days).

Overall, getting v6 running is really simple and once you adjust your mindset
a bit, while stuff is unusual and taking some getting-used-to, I really don’t
see v6 as being more complicated. Quite to the contrary actually.

As I’m thinking about firewalls and opening ports, actually, as hosts get
wiser about v6, you actually really might get away without a strict firewall
as hosts could grab a new random v6 address for every connection they want to
use and then they would just bind their servers to that address.

Services binding to all addresses would never bind to these temporary addresses.

That way none of the services brought up by default (you know – all those
ports open on your machine when it runs) would be reachable from the outside.
What would be reachable is the temporary addresses grabbed by specific
services running on your machine.

Yes. An attacker could port-scan your /64 and try to find the non-temporary
address, but keep in mind that finding that one address out of 264
addresses would mean that you have to port-scan 4 billion traditional v4
internets per attack target (good luck) or randomly guessing with an average
chance of 1:263 (also good luck).

Even then a personal firewall could block all unsolicited packets from
non-local prefixes to provide even more security.

As such, we really might get away without actually needing a firewall at the
gateway to begin with which will actually go great lengths at providing the
ubiquitous configuration-free p2p connectivity that would be ever-so-cool and
which we have lost over the last few decades.

Me personally, I’m really happy to see how simple v6 actually is to get
implemented and I’m really looking forward to my very own native /48 which I’m
probably going to get somehwere in September/October-ish.

Until then, I’ll gladly play with my tunneled /64 (for now still firewalled,
but I’ll investigate into how OS X and Windows deal with the temporary
addresses they use which might allow me to actually turn the firewall off).

A new fun project

Like back in 2010 I went to JSConf.eu this year around.

One of the many impressive facts about JSConf is the quality of their Wifi
connection. It’s not just free and stable, it’s also fast. Not only that, this
time around, they had a very cool feature: You authenticated via twitter.

As most of the JS community seems to be having twitter accounts anyways, this
was probably the most convenient solution for everyone: You didn’t have to
deal with creating an account or asking someone for a password and on the
other hand, the organizers could make sure that, if abuse should happen,
they’d know whom to notify.

On a related note: This was in stark contrast to the WiFi I had in the hotel
which was unstable, slow and cost a ton of money to use and it didn’t use
Twitter either :-)

In fact, the twitter thing was so cool to see in practice, that I want to use
it for myself too.

Since the days of WEP-only Nintendo DS, I’m running two WiFi networks at home:
One is WPA protected and for my own use, the other is open, but it runs over
a different interface on shion
which has no access to any other machine in my network. This is even more
important as I have a permanent OpenVPN connection
to my office and I definitely don’t want to give the world access to that.

So now the plan would be to change that open network so that it redirects to a
captive portal until the user has authenticated with twitter (I might add
other providers later on – LinkedIn would be awesome for the office for
example).

In order for me to actually get the thing going, I’m doing a tempalias on this
one too and keep a diary of my work.

So here we go. I really think that every year I should do some fun-project
that’s programming related, can be done on my own and is at least of some use.
Last time it was tempalias, this time, it’ll be
Jocotoco (more about the name in the next installment).

But before we take off, let me give, again, huge thanks to the JSConf crew for
the amazing conference they manage to organize year after year. If I could,
I’d already preorder the tickets for next year :p

Attending a JSConf feels like a two-day drug-trip that lasts for at least two
weeks.

Windows 2008 / NAT / Direct connections

Yesterday I ran into an interesting problem with Windows 2008’s implementation of NAT (don’t ask – this was the best solution – I certainly don’t recommend using Windows for this purpose).

Whenever I enabled the NAT service, I was unable to reliably connect to the machine via remote desktop or even any other service that machine was offering. Packets sent to the machine were dropped as if a firewall was in between, but it wasn’t and the Windows firewall was configured to allow remote desktop connections.

Strangely, sometimes and from some hosts I was able to make a connection, but not consistently.

After some digging, this turned out to be a problem with the interface metrics and the server tried to respond over the interface with the private address that wasn’t routed.

So if you are in the same boat, configure the interface metrics of both interfaces manually. Set the metric of the private interface to a high value and the metrics of the public (routed) one to a low value.

At least for me, this instantly fixed the problem.

802.11n, Powerline and Sonos

I decided to have a look into the networking setup for my bedroom as lately, I was getting really bad bandwidth.

Earlier, while unable to stream 1080p into my bedrom, I was able to watch 720p, but lately even that has become choppy at best.

In my bedroom, I was using a Sonos Zone Player 100 connected via Ethernet to a Devolo A/V 200MBit power line adapter.

I have been using the switch integrated into the zone player to connect the bedrom MacMini media center and the PS3 to the network. The idea was that powerline will provide better bandwidth than WiFi, which it initially seemed to do, but as I said, lately, this system became really painful to use.

Naturally I had enough and wanted to look into other options.

Here’s a quick list of my findings:

  • The Sonos ZonePlayer actually acts as a bridge. If one player is connected via Ethernet, it’ll use its mesh network to wirelessly bridge that Ethernet connection to the switch inside the Sonos. I’m actually deeply astonished that I even got working networking with my configuration.
  • Either my Devolo adaptor is defective or something strange is going on in my power line network – a test using FTP never yielded more than 1 MB/s throughput which explains why 720p didn’t work.
  • While still not a ratified standard, 802.11n, at least as implemented by Apple works really well and delivers constant 4 MB/s throughput in my configuration.
  • Not wanting to risk cross-vendor incompatibilities (802.11n is not ratified after all), I went the Apple Airport route, even though there probably would have been cheaper solutions.
  • Knowing that bandwidth rapidly decreases with range, I bought one AirPort Extreme Base Station and three AirPort Expresses which I’m using to do nothing but extend the 5Ghz n network.
  • All the AirPort products have a nasty constantly lit LED which I had to cover up – this is my bedroom after all, but I still wanted line of sight to optimize bandwidth. There is a configuration option for the LED, but it only provides two options: Constantly on (annoying) and blinking on traffic (very annoying).
  • While the large AirPort Extreme can create both a 2.4 GHz and a 5 GHz network, the Express ones can only extend either one of them!

This involved a lot of trying out, changing around configurations and a bit of research, but going from 0.7 MB/s to 4 MB/s in throughput certainly was worth the time spent.

Also, yes, these numbers are in Megabytes unless I’m writing MBits in which case it’s Megabits.